

Transform your outdoor space with these simple DIY garden decor ideas! This article provides easy-to-follow instructions and inspiration for creating stunning garden decorations without breaking the bank. Learn how to craft charming DIY garden projects using readily available materials, adding a touch of personal style and unique charm to your garden. Discover easy DIY garden crafts that will elevate your curb appeal and create a relaxing, inviting atmosphere. Whether you’re a seasoned gardener or a complete beginner, these inexpensive DIY garden ideas are perfect for anyone looking to enhance their outdoor oasis.
Painted Terracotta Pots
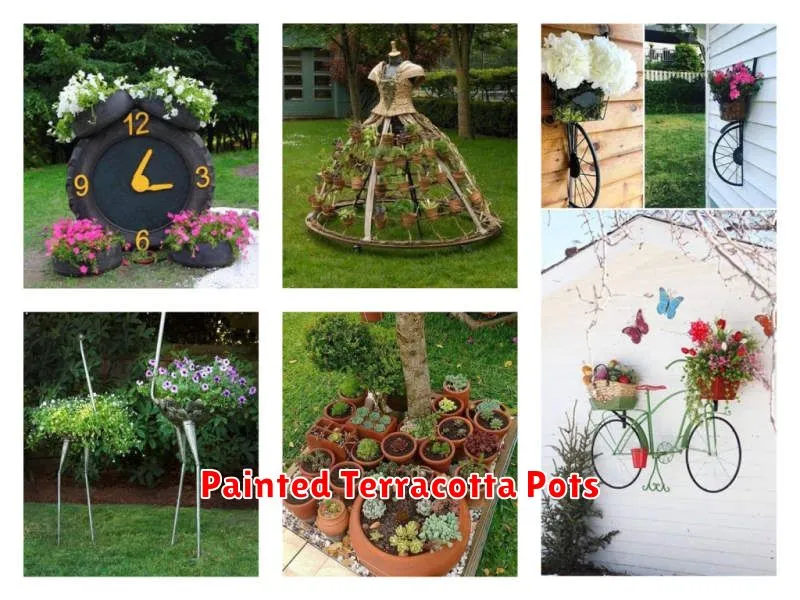
Transforming ordinary terracotta pots into unique garden decorations is a simple and rewarding DIY project. The cost-effectiveness of terracotta makes this an accessible option for enhancing your outdoor space, and the wide variety of paint options allows for limitless creative expression. Consider using outdoor-grade paints to ensure longevity and weather resistance.
The process is straightforward. Begin by cleaning the pots thoroughly and allowing them to dry completely. Then, apply a base coat of paint, followed by your desired design. This could involve simple solid colors, intricate patterns, or even decorative stencils. Allow ample drying time between coats for optimal durability.
Once the paint is fully dry, you can add finishing touches such as sealant for added protection and longevity. These painted pots can then be used to house your favorite plants, adding a touch of personalized style to your garden beds, patios, or window boxes. The possibilities are as diverse as your creativity.
Hanging Macrame Planters
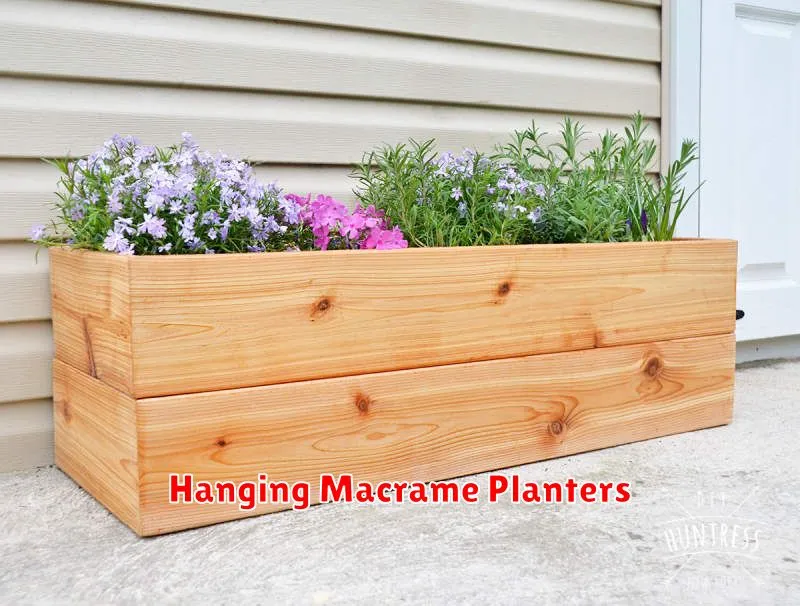
Add a touch of bohemian charm to your garden with hanging macrame planters. These decorative pieces are surprisingly easy to make with basic materials. You’ll need macrame cord in your preferred color, a planter pot, and some simple knotting techniques. Numerous online tutorials offer step-by-step instructions for various knot patterns and plant hanger designs, catering to different skill levels.
The beauty of macrame planters lies in their versatility. They can be crafted in various sizes and styles to complement any garden aesthetic, from minimalist to rustic. Experiment with different cord thicknesses and knot patterns to achieve a unique look. Consider using natural fibers like cotton or jute for a more organic feel.
Once completed, your DIY macrame planter will not only showcase your plants beautifully but will also serve as a striking focal point in your outdoor space. Hanging them from trees, fences, or porch ceilings instantly elevates the overall ambiance, adding a touch of handmade artistry to your garden décor.
Pallet Wood Benches
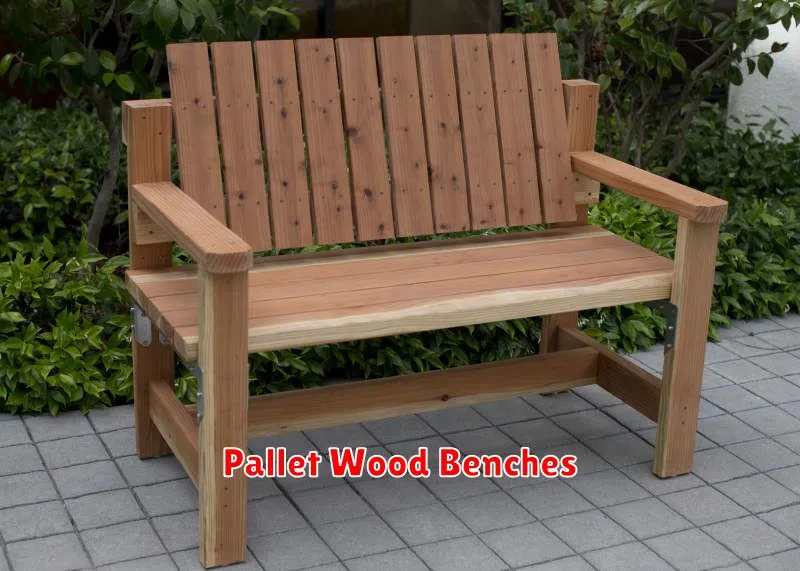
Pallet wood benches offer a rustic and charming addition to any garden. Their construction is relatively simple, making them an ideal DIY project for those seeking affordable and unique garden decor. With a little sanding, cleaning, and some basic tools, you can transform discarded pallets into functional and aesthetically pleasing seating.
The design possibilities are extensive. You can create a simple bench by adding legs and a backrest to a single pallet, or construct a longer bench by joining multiple pallets together. Consider adding a protective sealant or stain to enhance the wood’s durability and weather resistance. This will extend the life of your bench and protect it from the elements.
Remember to prioritize safety. Ensure the pallets are free from any hazardous materials before use and carefully secure all joints and components to prevent instability. With proper preparation and construction, your pallet wood bench will be a beautiful and durable addition to your outdoor space, providing a comfortable spot to relax and enjoy your garden.
Recycled Tire Planters
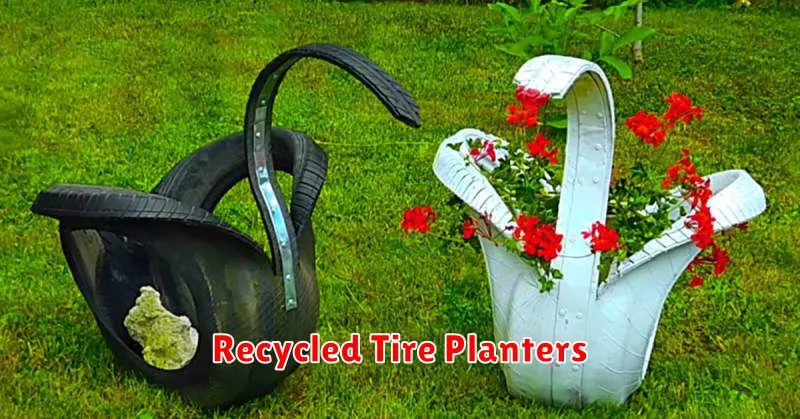
Transforming old tires into attractive and functional planters is a simple yet rewarding DIY project. This eco-friendly approach reduces waste while adding a unique touch to your garden. The process involves cleaning the tire thoroughly, then preparing it for planting, which may include painting or adding decorative elements.
Preparation is key. Ensure the tire is free of debris and any sharp edges. Depending on the desired aesthetic, you can leave the tire in its natural rubber state, paint it a vibrant color, or even add decorative patterns or textures. Consider using a waterproof sealant to protect the tire and extend its lifespan.
Once prepared, the tire is ready to be filled with potting soil and your chosen plants. Smaller tires are ideal for herbs or flowers, while larger tires can accommodate larger plants or even small shrubs. The resulting recycled tire planter offers a unique and sustainable addition to any garden setting.
Handmade Garden Signs
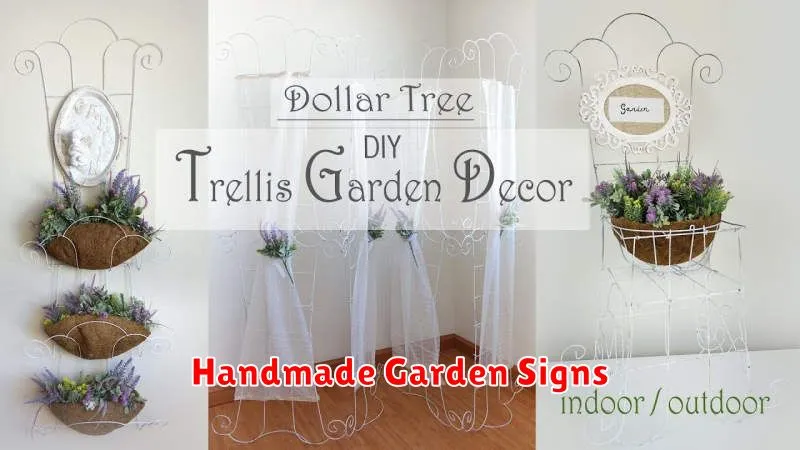
Add a touch of personalized charm to your garden with handmade signs. These simple projects offer a creative outlet and a way to express your unique style. Using readily available materials like reclaimed wood, chalkboard paint, or even repurposed metal, you can craft signs that announce garden beds, welcome guests, or simply add a whimsical touch to your outdoor space. Consider incorporating rustic elements or a specific color scheme to complement your existing garden design.
The possibilities for design are truly endless. You can hand-paint whimsical designs, use stencils for crisp lettering, or even employ decoupage techniques for a more layered effect. Personalization is key; incorporate your family name, a favorite quote, or a playful message that reflects your personality. Remember to choose paints and finishes that can withstand the outdoor elements for longevity.
Beyond the aesthetic appeal, handmade garden signs are a cost-effective way to enhance your garden’s appeal. By repurposing materials and using readily available supplies, you can create unique and charming pieces without breaking the bank. This DIY project allows for flexibility in size, shape, and design, enabling you to tailor the signs perfectly to your garden’s specific needs and style.
Rope-Wrapped Lanterns

Transform ordinary lanterns into charming garden accents with a simple rope wrap. This DIY project requires minimal materials and effort. Choose lanterns of various sizes and styles for visual interest. Select a sturdy rope, such as natural jute or sisal, in a color that complements your garden’s aesthetic.
Begin by carefully measuring the circumference of each lantern. Cut the rope to the appropriate length, adding extra for overlapping and securing. Starting at the base, begin wrapping the rope tightly around the lantern, ensuring even spacing. Use hot glue or strong adhesive to secure the rope at intervals, creating a textured and visually appealing finish. For added detail, consider incorporating small accents like beads or decorative twine.
Once the rope is completely wrapped, allow the adhesive to dry fully. These rustic and elegant rope-wrapped lanterns provide a warm and inviting ambiance to your garden space, especially when paired with candles or battery-operated tea lights. Their simple design seamlessly blends with various garden styles, adding a touch of handcrafted charm.
DIY Vegetable Beds
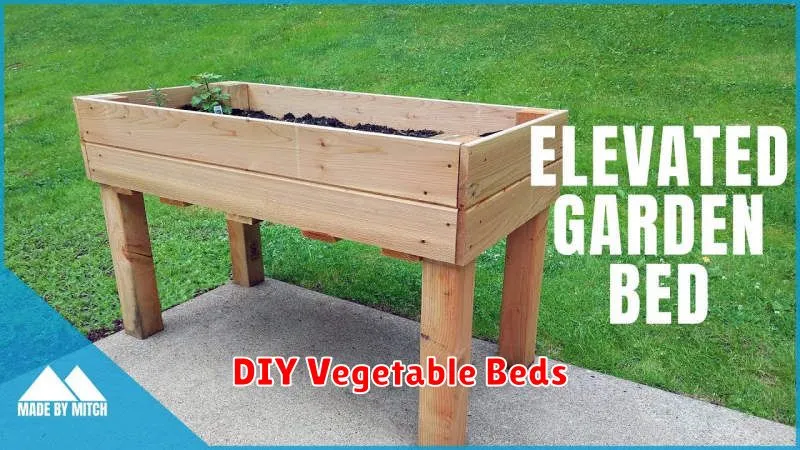
Creating your own vegetable beds is a rewarding and surprisingly simple gardening project. Elevated beds, built from readily available materials like reclaimed wood, cinder blocks, or even stacked pallets, offer several advantages. They provide excellent drainage, improve soil aeration, and make gardening easier on the back by eliminating the need to bend over excessively. The height also helps deter pests and can extend your growing season.
Consider the size and placement of your beds carefully. Smaller beds are easier to manage, while larger ones can accommodate a greater variety of plants. Ensure they receive at least six to eight hours of sunlight daily. Before planting, fill your beds with high-quality soil amended with compost for optimal nutrient content. This preparation will significantly impact the health and yield of your vegetables.
Beyond functionality, vegetable beds can contribute significantly to your garden’s aesthetic appeal. Creative design elements, such as using varying heights or incorporating attractive edging materials, can elevate the overall look. Remember to choose plants that thrive in your climate and soil conditions to ensure a bountiful harvest and a visually pleasing garden.
Climbing Trellis Walls
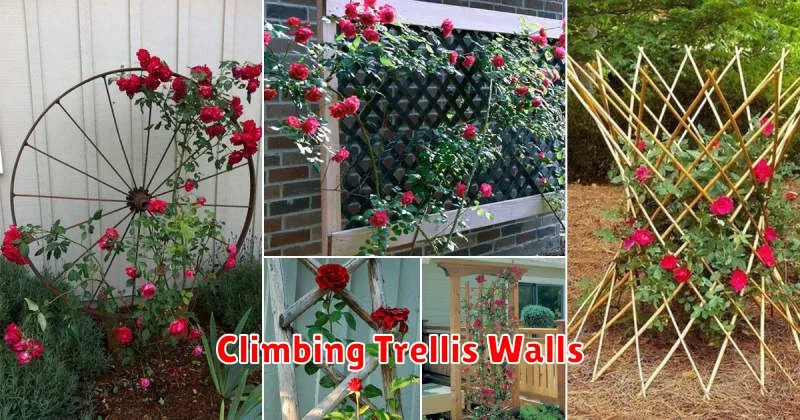
Creating a climbing trellis wall is a simple yet effective way to add visual interest and vertical dimension to your garden. This DIY project requires minimal materials and can be adapted to suit various spaces and aesthetic preferences. The basic structure involves building a frame—using readily available materials like wood or metal—and attaching a lattice or grid to support climbing plants.
Plant selection is crucial for a successful climbing trellis wall. Choose vines and climbers suited to your climate and the amount of sunlight your chosen location receives. Consider the mature size of the plants to ensure they won’t overwhelm the structure. Fast-growing options such as clematis, honeysuckle, or morning glories will quickly create a lush, green wall. Regular pruning will maintain the shape and size of your climbing plants.
Beyond aesthetics, a climbing trellis wall offers practical benefits. It can provide shade, create privacy, or even serve as a natural screen to conceal less attractive elements of your garden. The relative ease of construction and the numerous customization options make this a highly rewarding DIY project for enhancing your outdoor space.
Upcycled Glass Bottle Borders
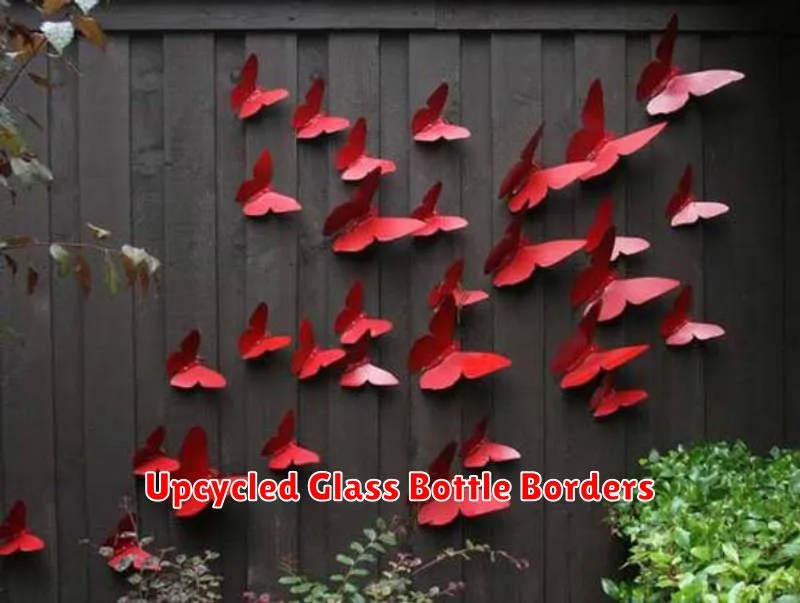
Transform discarded glass bottles into charming garden borders with minimal effort. Clean and dry your bottles thoroughly. Then, carefully bury them, necks upward, along your garden pathways or flower beds, creating a unique and visually appealing edge.
Consider the size and shape of your bottles when planning your border. Varying heights and bottle types will add visual interest. For enhanced stability, partially fill the bottles with sand or gravel before burying them. This technique also helps prevent them from tipping.
This eco-friendly project is a great way to recycle and add a touch of rustic elegance to your outdoor space. The translucent quality of the glass allows sunlight to penetrate the soil, while the smooth surfaces prevent accidental injury. Remember to always prioritize safety when handling glass.
Decorative Rock Gardens
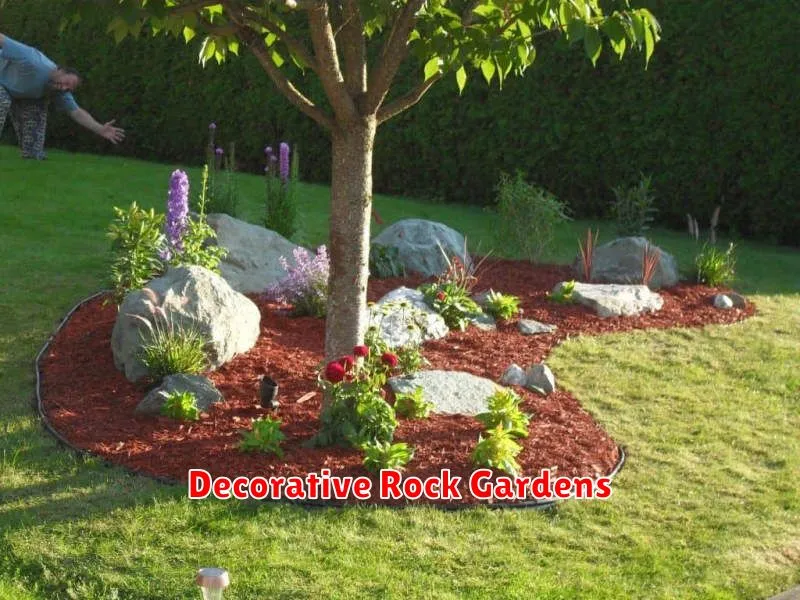
Decorative rock gardens offer a low-maintenance and visually appealing addition to any outdoor space. They require minimal upkeep, making them ideal for busy individuals or those seeking a simple yet elegant landscaping solution. The key to a successful rock garden lies in careful selection of rock types and sizes, creating visual interest through varied textures and colors.
Consider incorporating a variety of plants that thrive in dry conditions to complement the rocks. Succulents, sedums, and other drought-tolerant species add vibrant pops of color and texture, contrasting beautifully with the stony backdrop. Strategic placement of plants can further enhance the garden’s aesthetic appeal, creating focal points and guiding the eye through the design.
Proper preparation is crucial for a long-lasting rock garden. Ensure adequate drainage to prevent waterlogging. A well-drained base layer, such as gravel, will help prevent plant rot and maintain the overall health of the garden. Experiment with different rock arrangements to achieve your desired visual effect, from formal patterns to more naturalistic designs.