

Transform your outdoor space into a haven of style and comfort with these simple DIY outdoor décor projects. Whether you’re looking for easy and affordable ways to enhance your patio, garden, or backyard, this guide provides a range of creative and inexpensive ideas to elevate your outdoor living area. Discover step-by-step instructions and inspiring design tips to create a stunning outdoor oasis using readily available materials. From charming planters to unique lighting solutions, unleash your inner designer and personalize your space with these DIY projects for a remarkably budget-friendly and stylish transformation.
DIY Wooden Pallet Benches

Creating a DIY wooden pallet bench is a straightforward and cost-effective way to enhance your outdoor space. This project requires minimal tools and materials, making it ideal for beginners. Pallet wood, readily available and often free, forms the base of this project. You’ll need to disassemble the pallet carefully, ensuring you remove any loose nails or splinters for safety.
After preparing the pallet wood, the construction process involves assembling the planks into the desired bench shape. This might involve cutting the wood to size, depending on the dimensions of your planned bench. Consider using strong screws to securely fasten the planks together. Applying a protective exterior sealant or paint will extend the lifespan of the bench and improve its weather resistance.
With a little effort, you can transform reclaimed pallet wood into a charming and functional outdoor bench. The design can be easily customized – you can add a backrest, cushions, or even decorative elements to suit your personal style and outdoor aesthetic. The result is a unique piece of outdoor furniture that is both eco-friendly and cost-effective.
Handmade Wind Chimes
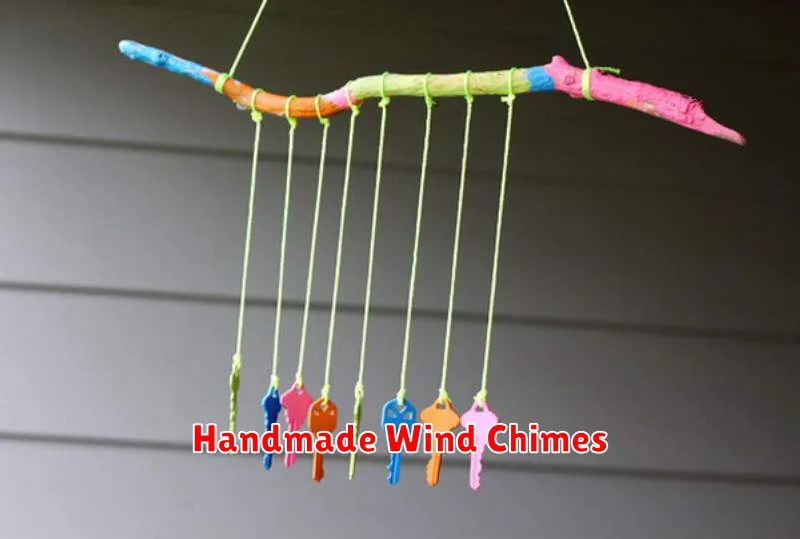
Creating handmade wind chimes is a simple yet rewarding outdoor décor project. This craft allows for significant personalization, using materials readily available or repurposed items. The process involves stringing various materials, such as beads, shells, or pebbles, onto sturdy string or wire, then hanging the finished product from a suitable branch or hook.
Consider the sound you desire when selecting materials. Heavier items will produce deeper tones, while lighter ones create higher-pitched chimes. Experiment with different combinations to achieve your preferred melodic effect. Ensure that the materials are weather-resistant to extend the life of your wind chimes and protect them from damage caused by the elements.
The aesthetic appeal can be customized to complement your existing outdoor space. Use a consistent color scheme or mix and match materials to create a unique and visually pleasing design. Remember to check the weight balance of your creation for optimal hanging and sound quality. Handmade wind chimes offer a delightful and personalized touch to any outdoor setting.
Painted Terracotta Pots
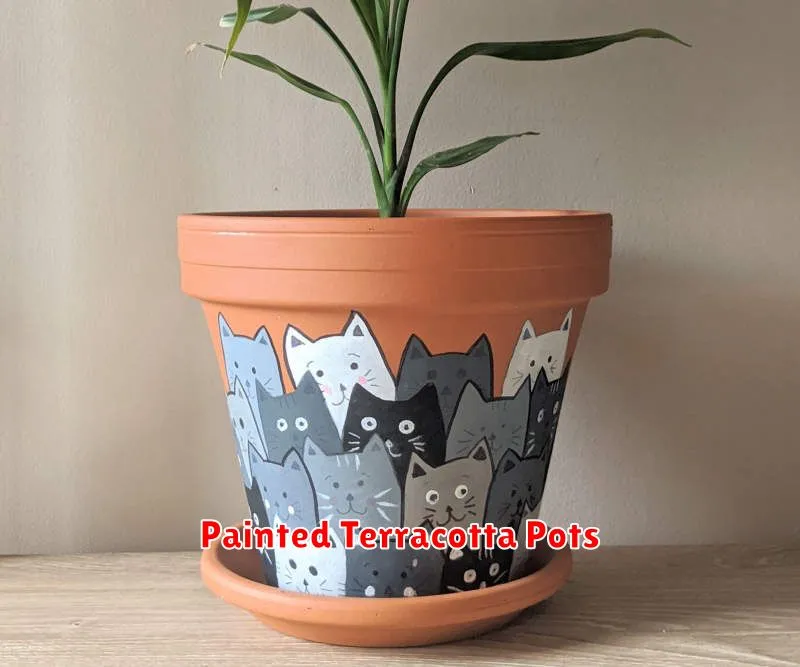
Terracotta pots offer a readily available and affordable base for a multitude of DIY outdoor décor projects. Their natural, earthy tone provides a versatile canvas for customization. A simple coat of paint can dramatically transform these pots, adding a pop of color to your patio, garden, or porch.
Preparation is key for a long-lasting and visually appealing finish. Begin by thoroughly cleaning the pots with soap and water to remove any dirt or debris. Allow them to dry completely before applying a primer, especially if using a darker paint over the terracotta’s reddish hue. This ensures better paint adhesion and prevents the terracotta from bleeding through.
Once the primer is dry, apply your chosen paint. Multiple thin coats are preferable to one thick coat, allowing each layer to dry properly. Consider using exterior-grade paints designed to withstand the elements for optimal durability. After the final coat has dried completely, you can add decorative elements such as stencils, ribbons, or even decoupage for a personalized touch.
Upcycled Mason Jar Lanterns
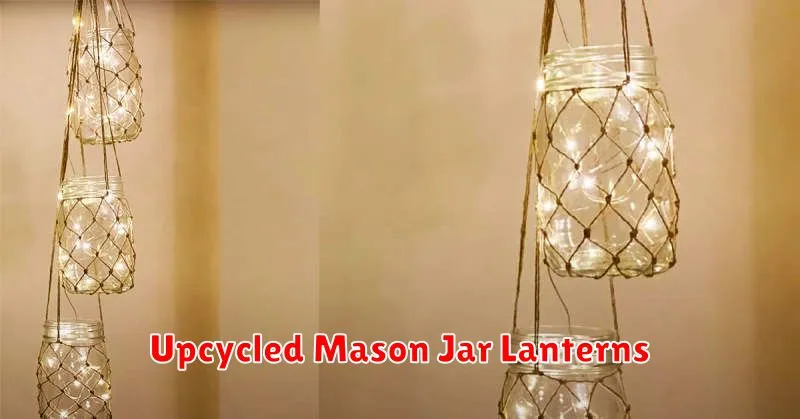
Transform ordinary mason jars into charming outdoor lanterns with this simple DIY project. This eco-friendly approach utilizes readily available materials, minimizing waste and maximizing creativity. The process is straightforward and requires minimal tools, making it an ideal project for beginners.
Clean your mason jars thoroughly and remove any labels. You can then decorate them using various techniques such as painting, decoupage, or adding embellishments like lace or twine. Once decorated, add a battery-operated tea light or LED candle inside for a safe and beautiful glow. Ensure the chosen light source is appropriately sized to fit comfortably within the jar.
These upcycled mason jar lanterns provide a warm and inviting ambiance for any outdoor setting. They are perfect for patios, gardens, or pathways, adding a touch of rustic elegance to your décor. The possibilities for customization are endless, allowing you to tailor the lanterns to match your personal style and existing outdoor aesthetic. Enjoy the process and the beautiful results!
Recycled Metal Sculptures
Transform discarded metal objects into unique and eye-catching outdoor sculptures. This eco-friendly project allows for significant creative freedom. Materials readily available include old tools, wire, and scrap metal sheets. Consider the overall design and desired aesthetic before starting.
The process involves cleaning and preparing the metal. Safety precautions are paramount; wear protective gear like gloves and eye protection when handling sharp edges and potentially rusty materials. Consider using wire cutters, metal shears, or a grinder to shape and cut the metal pieces. Welding might be required for more complex designs, depending on your skill level and desired outcome.
Once assembled, consider applying a protective coating such as paint or sealant to enhance durability and weather resistance. The final sculpture can serve as a statement piece in your garden, adding a touch of rustic charm or modern flair, depending on the chosen design and materials. Remember to securely mount or anchor the sculpture for stability.
Rope-Wrapped Plant Holders
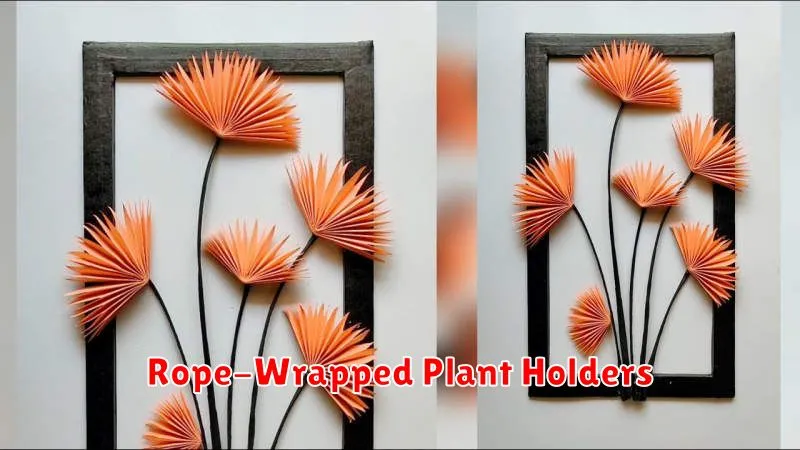
Transform ordinary plant pots into charming outdoor decorations with this simple DIY project. All you need is strong rope, a hot glue gun, and your favorite plant pots. The process involves carefully wrapping the rope around the pot, securing it at intervals with hot glue. This creates a rustic and textured look that complements any outdoor setting.
Choose a rope with a thickness and texture that suits your aesthetic preference. Natural jute or sisal rope offers a classic, earthy feel, while a thicker, braided rope provides a more robust appearance. Experiment with different wrapping techniques to achieve unique designs; consider adding embellishments like small shells or wooden beads for extra flair.
This project is incredibly versatile. It can be adapted to various pot sizes and shapes, allowing for personalized creations. With minimal materials and effort, you can easily create several rope-wrapped plant holders to enhance your outdoor space with a touch of handcrafted charm. Remember to allow the glue to cool completely before handling to ensure a strong and long-lasting finish.
DIY Herb Spiral Gardens
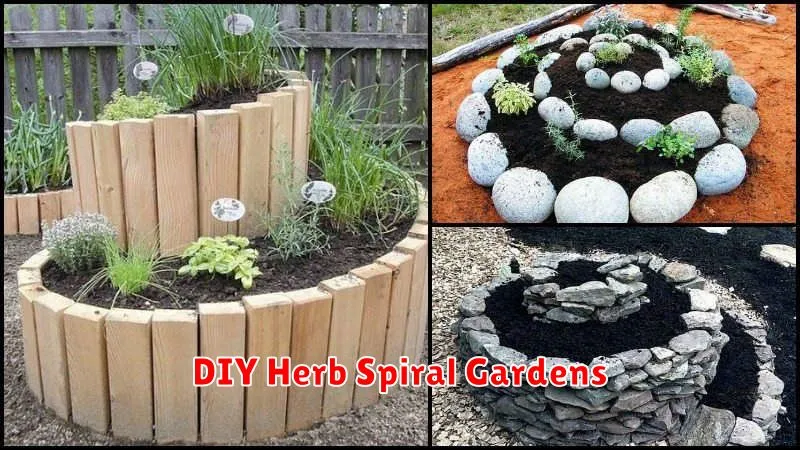
A DIY herb spiral garden is a beautiful and functional addition to any outdoor space. This unique design maximizes space and provides optimal growing conditions for a variety of herbs. The spiral shape allows for the creation of microclimates, catering to different sun and water requirements of various herbs. Construction is relatively straightforward, typically involving readily available materials like rocks, soil, and compost.
Building a herb spiral involves creating a low, winding wall of stacked stones or bricks. The wall’s height gradually increases as it spirals upward, creating a series of terraced planting areas. Each level should have different soil compositions tailored to specific herb needs. Remember to consider drainage to prevent waterlogging. Adding compost ensures fertile soil that supports robust herb growth.
The benefits of a herb spiral garden are numerous. Beyond the aesthetic appeal, they offer efficient space utilization, particularly in smaller yards or patios. The varied microclimates support a diverse range of herbs. Moreover, the spiral design is visually striking, seamlessly blending functionality with outdoor decor. It’s an excellent project for beginner gardeners, providing a rewarding experience with delicious results.
Natural Stone Pathways

Creating a natural stone pathway is a rewarding DIY outdoor decor project. This relatively simple undertaking adds both aesthetic appeal and practical functionality to your garden or yard. The process involves selecting your preferred stone type, preparing the ground, and laying the stones in a pattern that suits your style.
Material selection is crucial. Consider factors like size, shape, and color to achieve your desired aesthetic. Preparation requires removing existing vegetation, leveling the ground, and potentially adding a base layer of gravel for drainage and stability. The laying process itself is straightforward, though it may require some patience and careful placement to ensure a smooth and even pathway.
Beyond the basic steps, you can enhance your pathway with additional features. Consider adding edging to define the pathway’s borders, or incorporating stepping stones for a more rustic and natural look. Remember that proper planning and preparation are key to achieving a beautiful and long-lasting natural stone pathway.
Hanging Bottle Planters
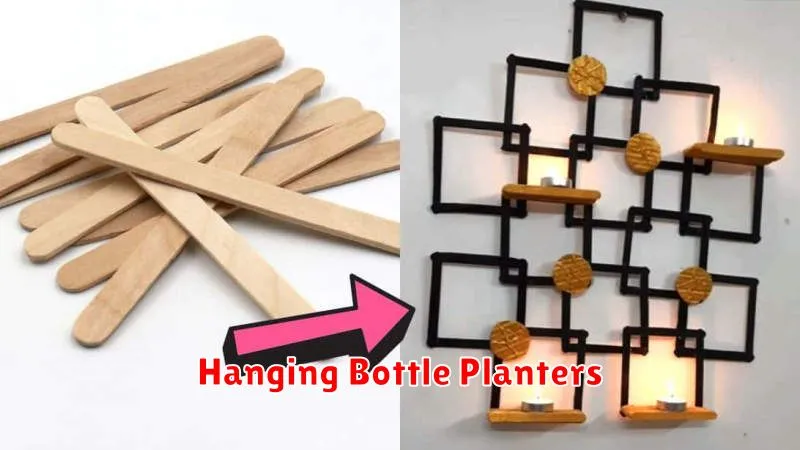
Hanging bottle planters offer a charming and easy way to add a touch of greenery to your outdoor space. This DIY project requires minimal materials and skills, making it perfect for beginners. You can utilize various types of bottles, from wine bottles to glass soda bottles, each offering a unique aesthetic.
The process involves cleaning and thoroughly drying the bottles. You then need to create drainage holes in the bottom to prevent waterlogging. Adding a layer of gravel or pebbles at the base is recommended for optimal drainage. Finally, you fill the bottle with potting soil and plant your chosen succulents, herbs, or flowers.
To hang your planters, you can use strong twine or wire, securely attaching it to the bottle’s neck or creating a loop around the bottle’s body. Consider the weight of the soil and plants when selecting your hanging method and ensure the hanging point is sturdy. The result is a beautiful and functional addition to your outdoor décor that requires minimal maintenance.
Custom Outdoor Wall Art
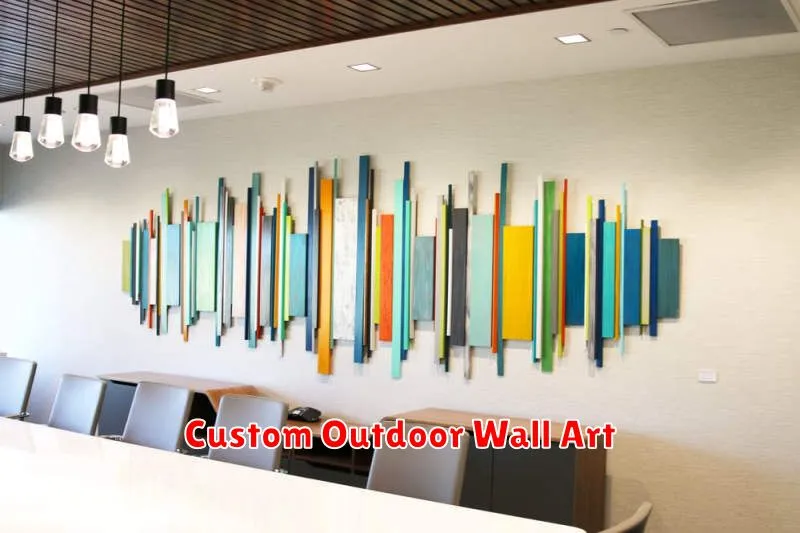
Creating custom outdoor wall art is a simple yet impactful way to enhance your home’s exterior. A variety of readily available materials can be utilized, such as reclaimed wood, repurposed metal, or even colorful stones. The design possibilities are endless, allowing for personalized expression and the creation of truly unique pieces.
Consider your home’s existing aesthetic when choosing materials and designs. For a rustic look, weathered wood and simple geometric patterns might be appropriate. A more modern home may benefit from sleek metalwork or brightly colored mosaic tiles. Careful consideration of weather resistance is also crucial for longevity; choose materials that can withstand sun exposure, rain, and temperature fluctuations.
The creation process itself can be remarkably straightforward. For example, arranging and gluing stones or tiles onto a sturdy backing is a manageable project for most DIY enthusiasts. Similarly, repurposed metal signs can be easily cleaned, painted, and affixed to the wall. With a little creativity and effort, you can transform a plain wall into a striking focal point featuring personalized and durable outdoor art.