

Transform your outdoor space into a haven of creativity with our exciting collection of DIY outdoor projects perfect for any garden. Whether you’re a seasoned gardener or a novice DIY enthusiast, these creative projects offer a wealth of inspiration to enhance your garden’s aesthetic appeal and functionality. Learn how to craft stunning outdoor décor, build practical and beautiful garden structures, and implement eco-friendly upcycling techniques. Unleash your inner artist and discover the joy of creating unique, personalized features for your garden design with these easy-to-follow DIY tutorials and inspiring ideas.
Recycled Pallet Planters
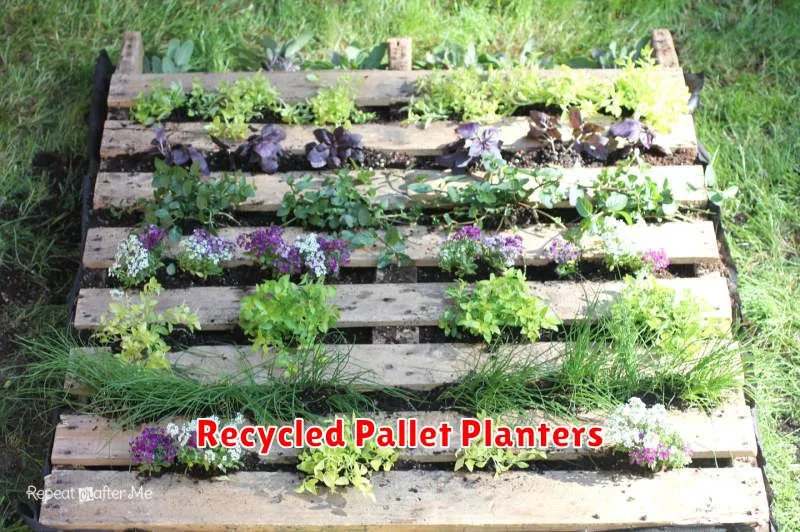
Transforming old wooden pallets into charming planters offers a sustainable and aesthetically pleasing way to enhance your garden. This DIY project requires minimal tools and materials, making it an accessible option for gardeners of all skill levels. The rustic charm of the reclaimed wood adds a unique touch to any outdoor space.
Before beginning, ensure the pallet is treated wood, free from splinters and any harmful chemicals. Clean the pallet thoroughly and allow it to dry completely. Depending on the desired planter size, you can create individual compartments by attaching wooden dividers or use the existing spaces within the pallet. Consider applying a weather-resistant sealant to prolong the life of your planter and protect it from the elements.
Once the pallet is prepared, add a layer of landscape fabric to prevent soil from falling through the gaps. Then fill the compartments with potting mix and plant your favorite flowers, herbs, or vegetables. These recycled pallet planters offer a versatile and eco-friendly solution for showcasing your green thumb, bringing a touch of rustic elegance to your garden while promoting sustainability.
Hanging Bottle Gardens
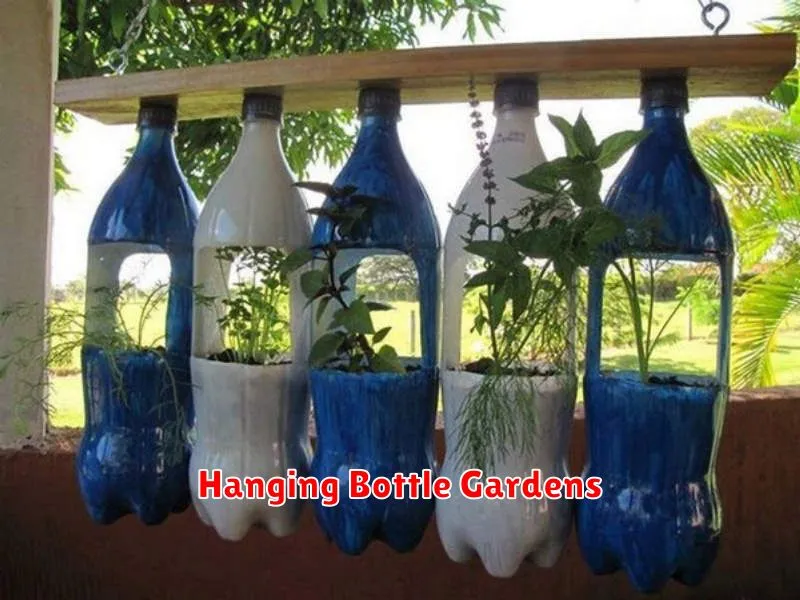
Hanging bottle gardens offer a unique and visually appealing way to add greenery to your outdoor space. These vertical gardens are easy to create using recycled glass bottles, providing a sustainable and cost-effective alternative to traditional planters. The hanging aspect allows for space-saving solutions, perfect for smaller gardens or patios.
Preparation involves cleaning and sterilizing the bottles. Holes are then drilled for drainage and planting. A suitable potting mix, ensuring proper drainage to prevent root rot, is crucial for success. Various plants, such as succulents, herbs, or trailing vines, can be selected based on sunlight exposure and desired aesthetic.
The maintenance of a hanging bottle garden is relatively low. Regular watering is necessary, adjusting frequency based on weather conditions and plant type. Monitoring for pests and diseases is also important, ensuring the healthy growth of your plants. With a little care, these charming gardens can bring a touch of nature and beauty to any outdoor setting for an extended period.
DIY Stone Fire Pits

Building a DIY stone fire pit is a rewarding outdoor project that enhances your garden’s ambiance. The process involves selecting appropriate fire-resistant stones, laying a solid base, and carefully arranging the stones to create a stable and aesthetically pleasing structure. Consider the overall size and shape desired before beginning construction, ensuring sufficient space for seating and comfortable use.
The foundation is crucial for a durable fire pit. A level base of compacted gravel or sand prevents settling and ensures the pit’s stability. The choice of stone depends on personal preference and availability, but natural, heat-resistant stones are ideal. Remember to leave ample space for air circulation to maintain a good burn. Adding a metal fire ring inside the stone structure is also a recommended safety precaution.
Once the stones are arranged to your satisfaction, consider adding finishing touches such as a stone border or decorative elements. Always prioritize safety by ensuring sufficient clearance around the fire pit and keeping a readily available fire extinguisher nearby. With careful planning and execution, a DIY stone fire pit provides a beautiful and functional addition to any garden, offering warmth and a focal point for outdoor gatherings.
Painted Rock Decorations
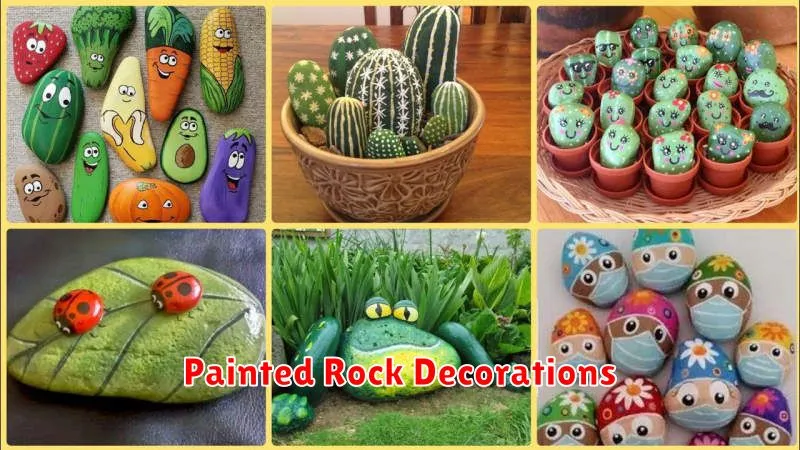
Transform ordinary rocks into whimsical garden decorations with a little paint and creativity. Gather smooth, flat stones of varying sizes from your yard or a local park. Clean them thoroughly and allow them to dry completely before beginning the painting process.
Acrylic paints are ideal for this project due to their vibrancy and outdoor durability. Consider painting simple designs, such as polka dots, stripes, or geometric patterns. Alternatively, create more intricate designs, such as ladybugs, flowers, or animals. Use a sealant once the paint is dry to protect your creations from the elements and extend their lifespan.
Once the sealant is dry, arrange your painted rocks amongst your plants, along pathways, or as accents in flower beds. They add a touch of personality and artistry to your outdoor space with minimal effort and cost. The possibilities are endless; let your imagination guide you!
Rope-Wrapped Mason Jars
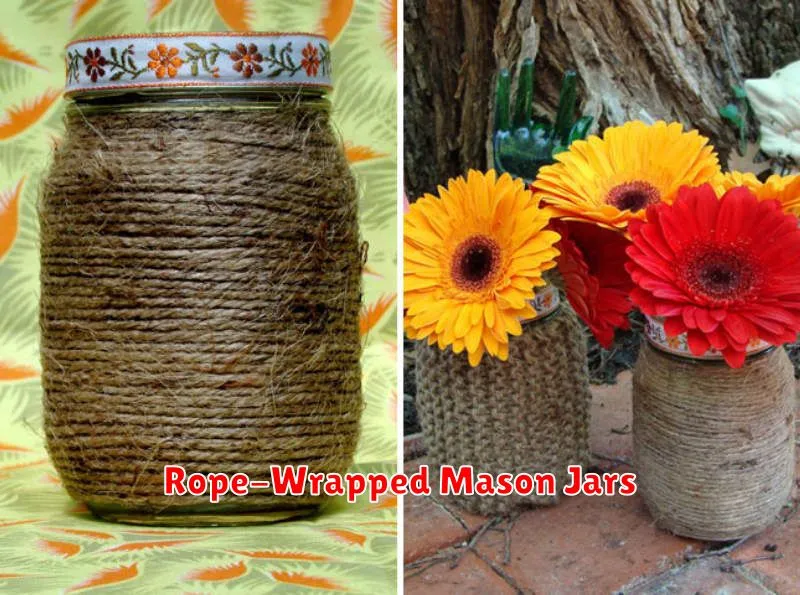
Mason jars are incredibly versatile and can be transformed into charming garden accents with minimal effort. Wrapping them with rope adds a rustic and textural element, perfectly complementing a variety of garden styles. This simple DIY project requires only a few materials: mason jars (various sizes), natural rope, and a strong adhesive like hot glue.
The process is straightforward. Begin by cleaning your mason jars thoroughly. Then, apply a generous bead of hot glue to the top of the jar and begin wrapping the rope tightly, ensuring consistent overlap to create a seamless look. Continue wrapping around the jar’s circumference, adding glue as needed to secure the rope in place. For a finished look, secure the end of the rope with additional glue.
Once the glue has cooled and the rope is firmly attached, your rope-wrapped mason jars are ready for use. These can be used as planters for small succulents or herbs, as candle holders for creating a warm ambiance, or as decorative elements simply placed amongst your existing garden features. The possibilities are as diverse as your garden’s design.
Reclaimed Wood Benches

Reclaimed wood benches offer a unique and sustainable addition to any garden. Using salvaged lumber provides environmentally friendly alternatives to newly harvested wood, reducing deforestation and landfill waste. The character of reclaimed wood, with its varied textures and natural weathering, contributes to a rustic charm, creating visually appealing seating options.
The construction process allows for considerable creative freedom. Different wood types can be combined for visual interest, and designs can range from simple, minimalist benches to more elaborate, intricately crafted pieces. Customization options include adding decorative elements, carvings, or unique finishes to reflect personal style and complement the existing garden aesthetic.
Beyond their aesthetic appeal, reclaimed wood benches are durable and long-lasting. Properly treated and assembled, they can withstand various weather conditions, providing years of dependable outdoor seating. The DIY nature of the project also allows for cost-effective creation of high-quality garden furniture, tailored precisely to individual needs and preferences.
Handmade Wind Chimes
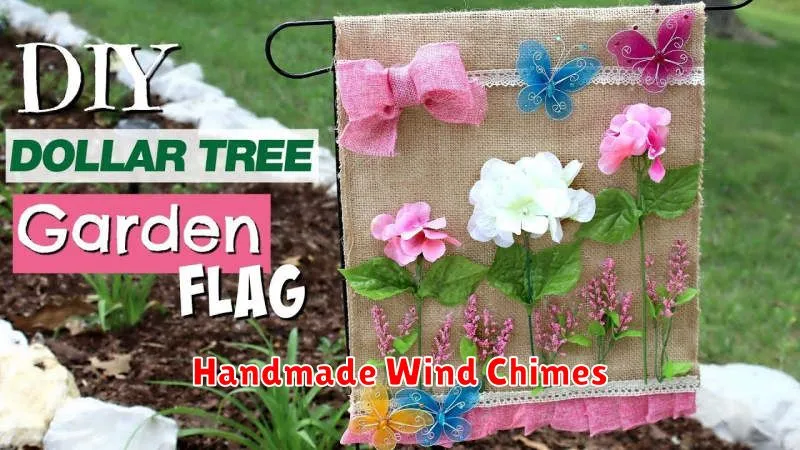
Creating handmade wind chimes is a rewarding and relatively simple DIY project perfect for adding a touch of elegance and sound to your garden. The process allows for significant creative expression, enabling you to personalize your chimes with various materials and designs to complement your existing garden aesthetic.
Materials commonly used include recycled glass, seashells, beads, and metal pieces. The choice of materials directly impacts the sound produced, resulting in a wide array of unique auditory experiences. Consider experimenting with different combinations to achieve your desired sonic effect. Furthermore, the structural design can be adapted to create intricate or minimalist styles.
To ensure longevity, select weather-resistant materials and use strong, durable string or wire for hanging. Proper hanging is crucial for optimal sound quality and stability. With careful selection and assembly, your handmade wind chimes will become a beautiful and long-lasting addition to your outdoor space, providing a soothing melody for many seasons to come.
Vertical Herb Walls
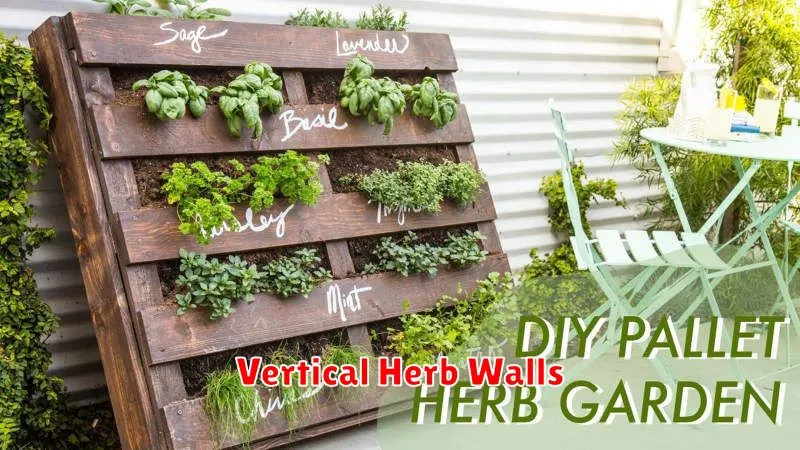
Vertical herb walls offer a space-saving and aesthetically pleasing solution for growing herbs in your garden. They maximize available space, particularly beneficial for smaller gardens or patios. Construction can range from simple repurposed materials like pallets to more elaborate, custom-built structures. The key is proper drainage and sunlight exposure for optimal herb growth.
Planting your herb wall involves choosing suitable herbs—those that thrive in similar conditions—and using appropriate potting medium to ensure healthy root development. Consider using a mix of trailing and upright varieties to create a visually appealing and functional wall. Regular watering and fertilization are essential to maintain a thriving herb garden.
Beyond the practical benefits of increased growing space, vertical herb walls add a unique charm to any outdoor setting. They create a living wall that is both visually interesting and functional, providing fresh herbs readily accessible for culinary use. The design possibilities are endless, allowing for personalization and integration with the existing garden design.
Climbing Vine Trellises
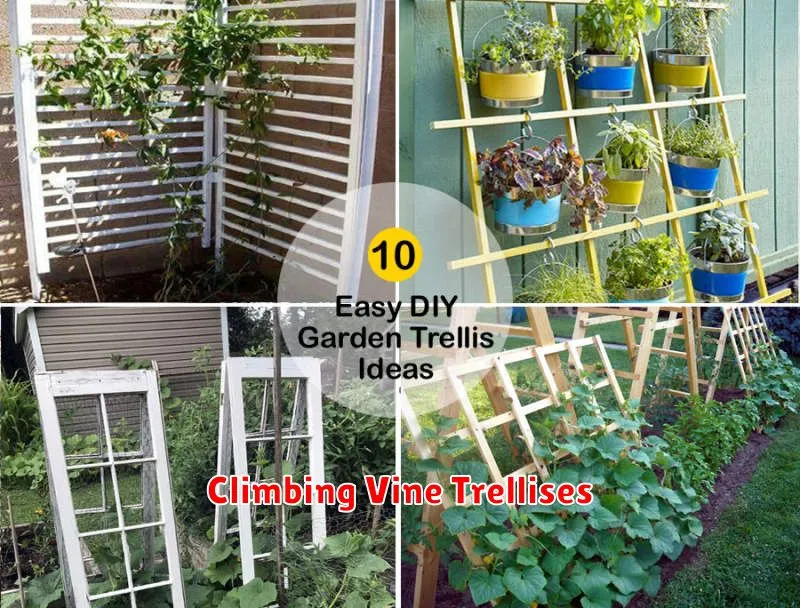
Climbing vine trellises offer a creative and practical solution for enhancing your garden’s aesthetic appeal and providing support for climbing plants. They can be constructed from readily available materials such as wood, metal, or even repurposed items, allowing for a personalized touch. The design possibilities are virtually limitless, ranging from simple, rustic structures to more elaborate, ornate designs tailored to complement your garden’s overall style.
Building a trellis involves selecting suitable materials and crafting a sturdy frame. Consider the size and weight of your mature vines when determining the trellis’s dimensions and sturdiness. For added visual interest, incorporate decorative elements into the design, such as latticework, curving supports, or painted accents. Proper installation ensures the trellis remains stable and provides adequate support for the climbing plants.
The benefits extend beyond visual enhancement. Properly supported vines are healthier, produce more flowers and fruits, and require less maintenance. Trellises also optimize space utilization, especially in smaller gardens, by directing vertical growth. The chosen materials will influence the trellis’s longevity and aesthetic integration within your garden’s landscape.
Decorative Gravel Pathways

Creating a gravel pathway is a relatively simple yet impactful DIY project for enhancing your garden’s aesthetic appeal. The process involves defining the path’s boundaries, preparing the ground by removing existing vegetation and creating a level base, and then laying down a landscape fabric to prevent weed growth. Finally, choose your gravel; various colors and textures are available to complement your garden’s style.
Cost-effectiveness is a significant advantage of gravel pathways. Compared to more complex paving options, gravel is generally more affordable and readily accessible. Moreover, the installation process is straightforward, requiring minimal tools and expertise. You can easily adjust the path’s width and shape to fit your garden’s design and personal preferences. Consider adding edging for a more polished look.
Beyond aesthetics, gravel pathways offer practical benefits. They provide excellent drainage, preventing waterlogging and ensuring a dry surface even after rainfall. This makes them suitable for various garden settings and climates. Furthermore, their permeability helps to maintain a natural water cycle within the garden environment. Remember to choose gravel appropriate for the expected foot traffic.